Ensuring your furry friend stays healthy and happy involves more than just feeding and exercise; you must also keep an eye on their hygiene. One often overlooked aspect of pets’ hygiene is ear care. Regular cleaning allows you to keep a close eye on your pet’s ear health and spot potential problems before they become painful and severe. In our Star of Texas Veterinary Hospital team’s guide, we’ll walk you through the process of cleaning your pet’s ears step by step, teaching you how to make the experience low stress and positive for you and your four-legged friend.
Ear cleaning supplies for pets
Before corralling your pet for their ear cleaning, ensure you have all the essential supplies ready to go. Proper preparation reduces stress for you and your pet by ensuring the process goes smoothly and quickly. Gather the following ear cleaning necessities:
- Ear cleaning solution — Depending on your pet’s otic health, they may require a medicated ear cleaning solution that is formulated to fight yeast, bacteria, and inflammation. Otherwise, choose a gentle product with a drying agent to help maintain a healthy ear environment.
- Cotton balls and pads — Use cotton balls or pads to wipe debris and excess cleaner out of your pet’s ears. Avoid using cotton swabs, as they can push debris deeper into the ear canal, cause infections, or damage the eardrum.
- A towel — Wrapping your pet in a cozy towel serves two purposes: keeping your pet clean and gently restrained.
- Treats — Positive reinforcement is key to making ear cleaning a positive experience. Have your pet’s favorite treats on hand to reward them during and after the process.
A step-by-step guide to cleaning your pet’s ears
When cleaning your pet’s ears, remember to use a gentle touch and be patient. For a stress-free, positive experience, follow these pet ear cleaning tips:
- Step #1: Gather your supplies — Ensure everything you need is within arm’s reach to minimize disruptions during the process. Having a helper is a great asset. They can hand you supplies and give your pet treats.
- Step #2: Create a calm environment — Choose a quiet room in which distractions are minimal and where your pet feels comfortable.
- Step #3: Offer treats — Before you start, reward your pet with treats and affection to associate ear cleaning with positive experiences.
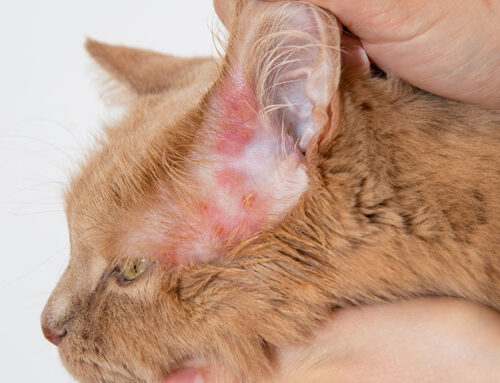
- Step #4: Inspect the ears — Gently examine your pet’s ears for redness, swelling, or infection signs. If you notice anything unusual, consult your Star of Texas Veterinary Hospital veterinarian before proceeding.
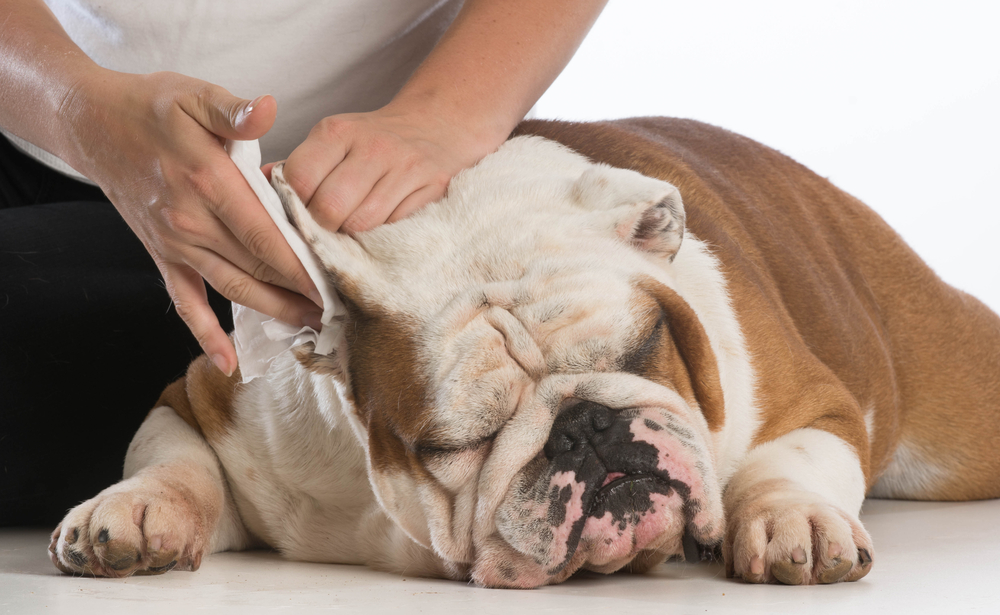
- Step #5: Apply the ear cleaner — While some pets require a good “flush” of ear cleaning solution to remove debris from large or dirty ear canals, most pets prefer a cleaner-soaked cotton ball’s gentler application. Place the cotton ball down into the ear, ensuring it is still visible and easy to remove, then massage the ear at the base to distribute the solution.
- Step #6: Let your pet shake — Allow your pet to shake their head to help the cleaner reach the ear canal’s nooks and crannies. Headshaking also dislodges some debris, making it easier to remove.
- Step #7: Wipe away debris — Use cotton balls or pads to gently wipe away any debris or excess cleaner from the ear’s visible parts. Take care to avoid pushing anything deep into your pet’s ear canal.
- Step #8: Reward your pet — Reward your pet with treats and praise for their cooperation. This positive reinforcement helps build trust for future ear cleaning sessions.
Ear cleaning frequency for pets

Ear cleanings’ frequency varies depending on your pet’s breed, lifestyle, ear shape, and medical conditions. Pets who swim often, have droopy ears, or suffer from allergies require frequent ear cleanings. Otherwise, aim to clean your pet’s ears once a month.
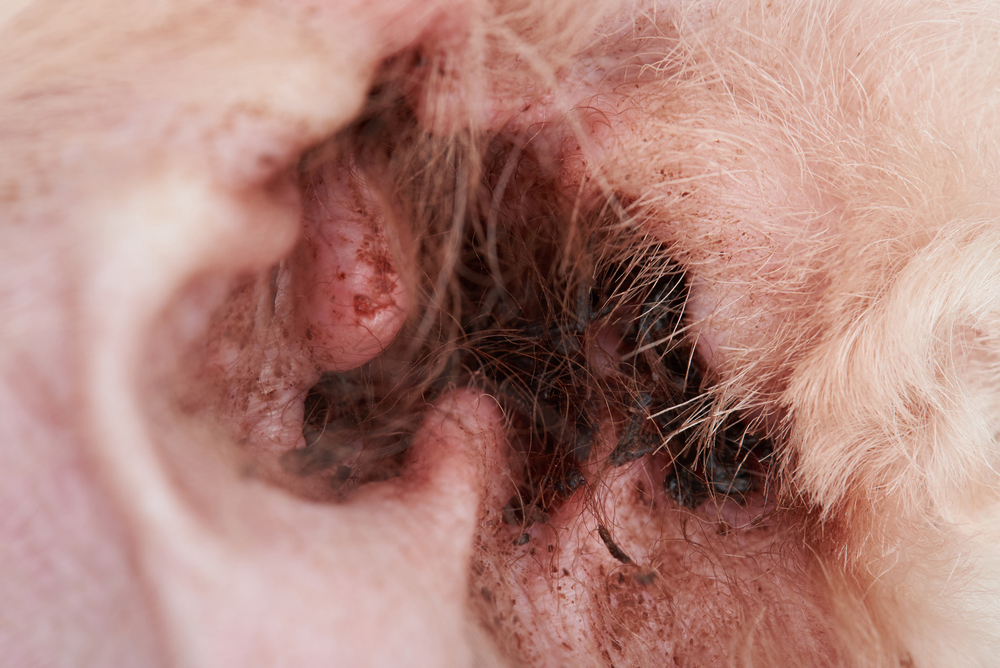
When cleaning your pet’s ears, watch for any issues, such as redness, excessive debris, discharge, large amounts of hair, a foul odor, growths, or discomfort. These signs can indicate an ear infection or other issue that requires veterinary attention. If your pet is prone to ear infections, examine both ears regularly—at least weekly, if not more often—for problems. Ear infections can quickly pop up and rapidly worsen, so keep a close eye on your four-legged friend’s ears.
If your pet is particularly reluctant to have their ears cleaned, they may have an uncomfortable infection brewing. Call to set up your pet’s otic exam with our Star of Texas Veterinary Hospital team.


